DXR-RTX Path Tracer Project Introduction
Information
Links to series
- DXR Path Tracer Introduction
- DXR Path Tracer Usage
- DXR Path Tracer Host-Side Explanation
- DXR Path Tracer HLSL Explanation
Introduction to Ray Tracing
If you don’t know about RTX (Real time raytracing) technology that Nvidia had released, you should take a look at how cool the graphics in the cinematic produced here:
RTX cards allow for real time ray tracing (with built-in specific hardware technology), which originally took a long time on the GPU/CPU to render a single frame. Unlike rasterization, which is traditionally used for real time applications such as games, raytracing produces more natural and realistic images without using as many techniques or “hacks” to generate awesome images.
Ray tracing is done by shooting a light ray from a pixel on the screen into the scene and the ray accumulates colors as it bounces off surfaces until the ray hits a light source or goes out of the scene. The ray’s color is then used for the pixel color.
Nvidia dev blog’s explanation is much more detailed
A path tracer, unlike a ray tracer, is different in the ray that the rays are bounced. The rays bounce in a random direction until the ray hits a light source or goes out of the scene, unlike a ray tracer, which generates rays that go towards a light source.
This generates a much more realistic image as rays in nature, are random to a certain degree.
RTX-DXR Path Tracer Project
I worked on a DXR path tracer project this semester for the GPU Programing class, CIS565 at the University of Pennsylvania
For the final project, my group consisting of (Zied, Liam and I, Henry) decided to work on a DXR path tracer project using the brand new DXR (DirectX Ray Tracing) API
Features
The DXR Project includes the following features, but not limited to:
- GLTF loading
- Saving/loading scenes
- Adding objects
- Adding models
- Adding diffuse/normal textures
- Adding materials
- Editing the object’s properties
- Saving the image
- Loading the image to compare currently rendered image with the loaded image side by side
- Effects such as anti-aliasing and depth of field
- Much more other small editing capabilities
- Other stuff as time progresses
Move onto DXR Path Tracer Usage, if not interested about the history of the project
Blog about history of project
Starting out the project
Zied was working hard on trying to find a final project to do and kudos to him for doing so. In the end, the team was formed and our team name was rtx-on (based on the meme)
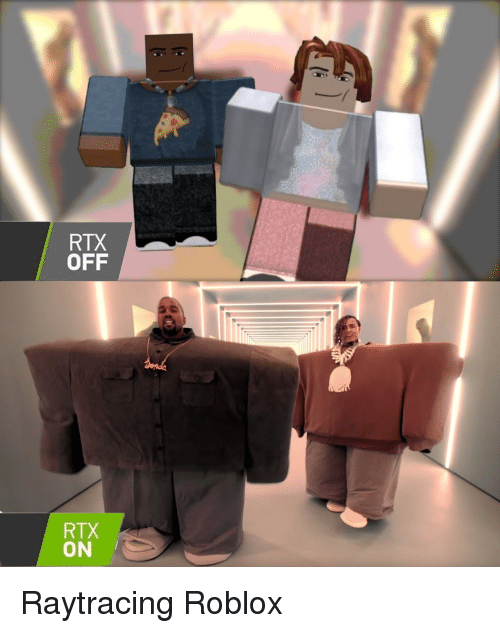
Source is based on the song (I found it kind of interesting…?)
I had no clue what I was getting into, so as what I usually do, I just jump right into it and see what I need to understand and break down what I need to do to get things done.
Into the pits of hell
For the first week, I was hit hard by the reality of the project. DXR is built on top of DirectX12, which is a windows-specific graphics API that allows graphics programmers to have more direct access to the hardware resources like Vulkan
While this is awesome for optimizations and trying to make the most performant application such as a game, the API is very explicit and requires the programmer to manage the hardware resources and synchronize the GPU and CPU barriers. I had many experiences where I would spend hours trying to debug the application and attempt to find something online, but the questions asked forums did not match my problem.

Also, I didn’t have any experience with lower level graphics APIs at all (CIS565 pretty much only dealt with CUDA, and vulkan with a Vuklan project)
The lab didn’t actually have a RTX graphics card either, but fortunately, Microsoft’s fallback layer could be used. This allowed for non-rtx cards to use the same API (for the most part)
Again, Microsoft had excellent samples for DXR, which saved our butts from hours of manually building everything from scratch. The project was then built on top of their example.
For the first milestone, it was mostly trying to figure out the API and add a couple things on top:
- Single Object Loading
- Single Diffuse Texture Loading
- Single Normal Texture Loading
- Finding a invaluable debugger (Pix Debugger)

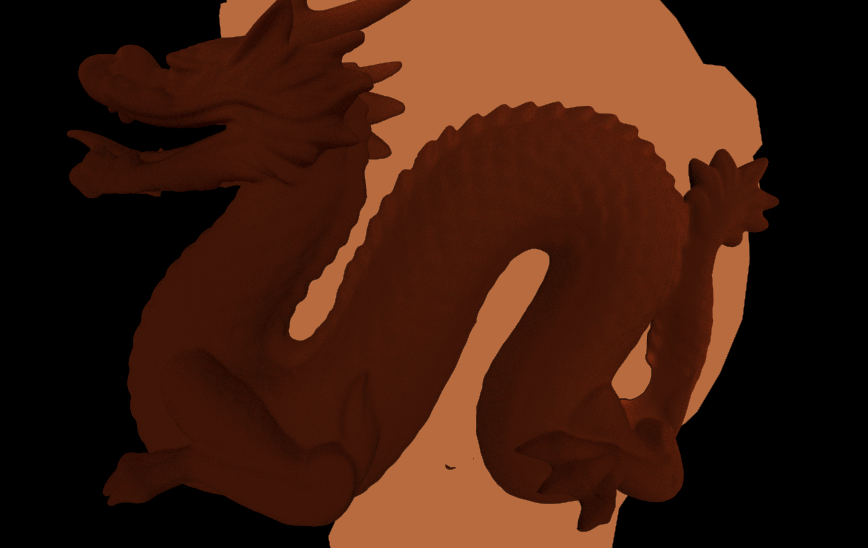
Link to milestone 1 presentation
Was there even a Thanksgiving?
The second week was Thanksgiving

I didn’t really have time to celebrate. I was working on the host code for the most part. In particular, I had to get multiple model loading and texture loading to work, but I wanted to do something else first…
So, I spent three of the four full days refactoring (the source code was a ball of mud)

Anddddddddd, nothing really came out of it. I didn’t even get a chance to compile it. (my inexperience with API had my spinning my head around) :(
I really hit a wall.
(In case you’re asking, no, I actually did not throw my head at a wall)
So, for the day right before the milestone day, I worked on the model/texture loading with Zied and Liam. We started at 2PMish. Things didn’t really work out until literally 11PM, when we all left and I went to my room and wrote code for an hour and thirty minutes and got multiple model/texture loading to work.
Feels good man!

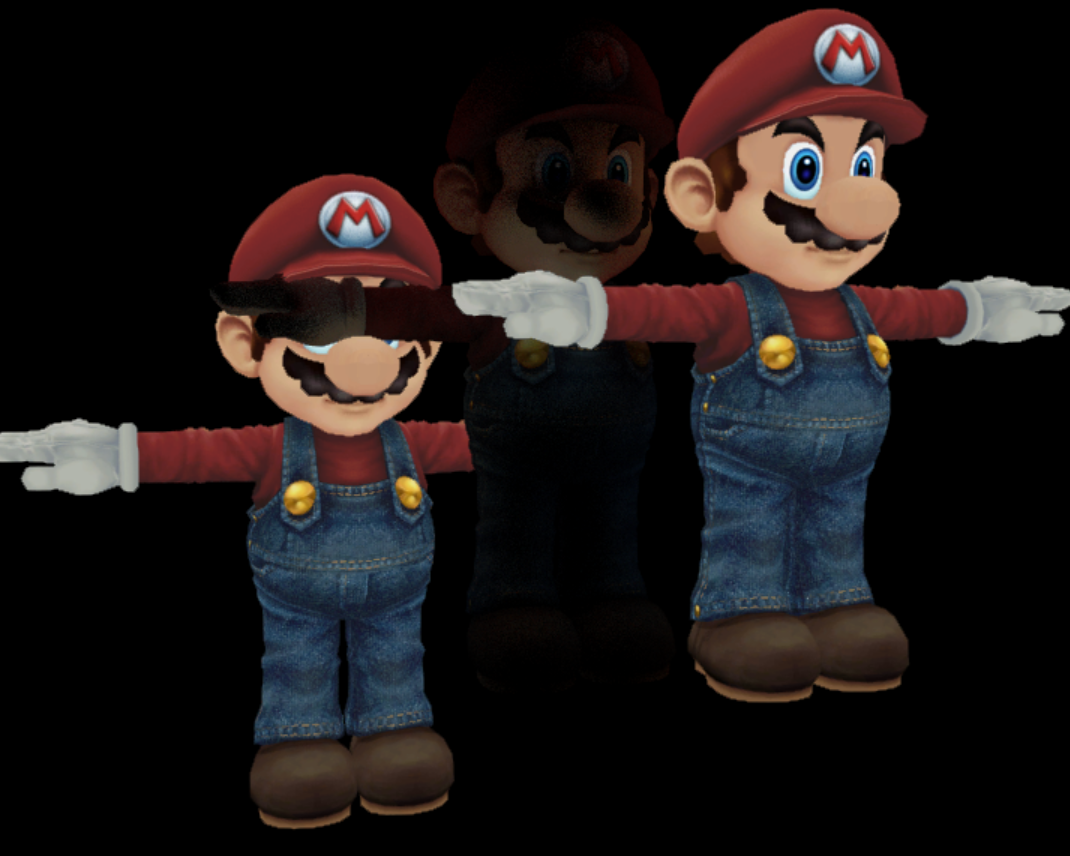
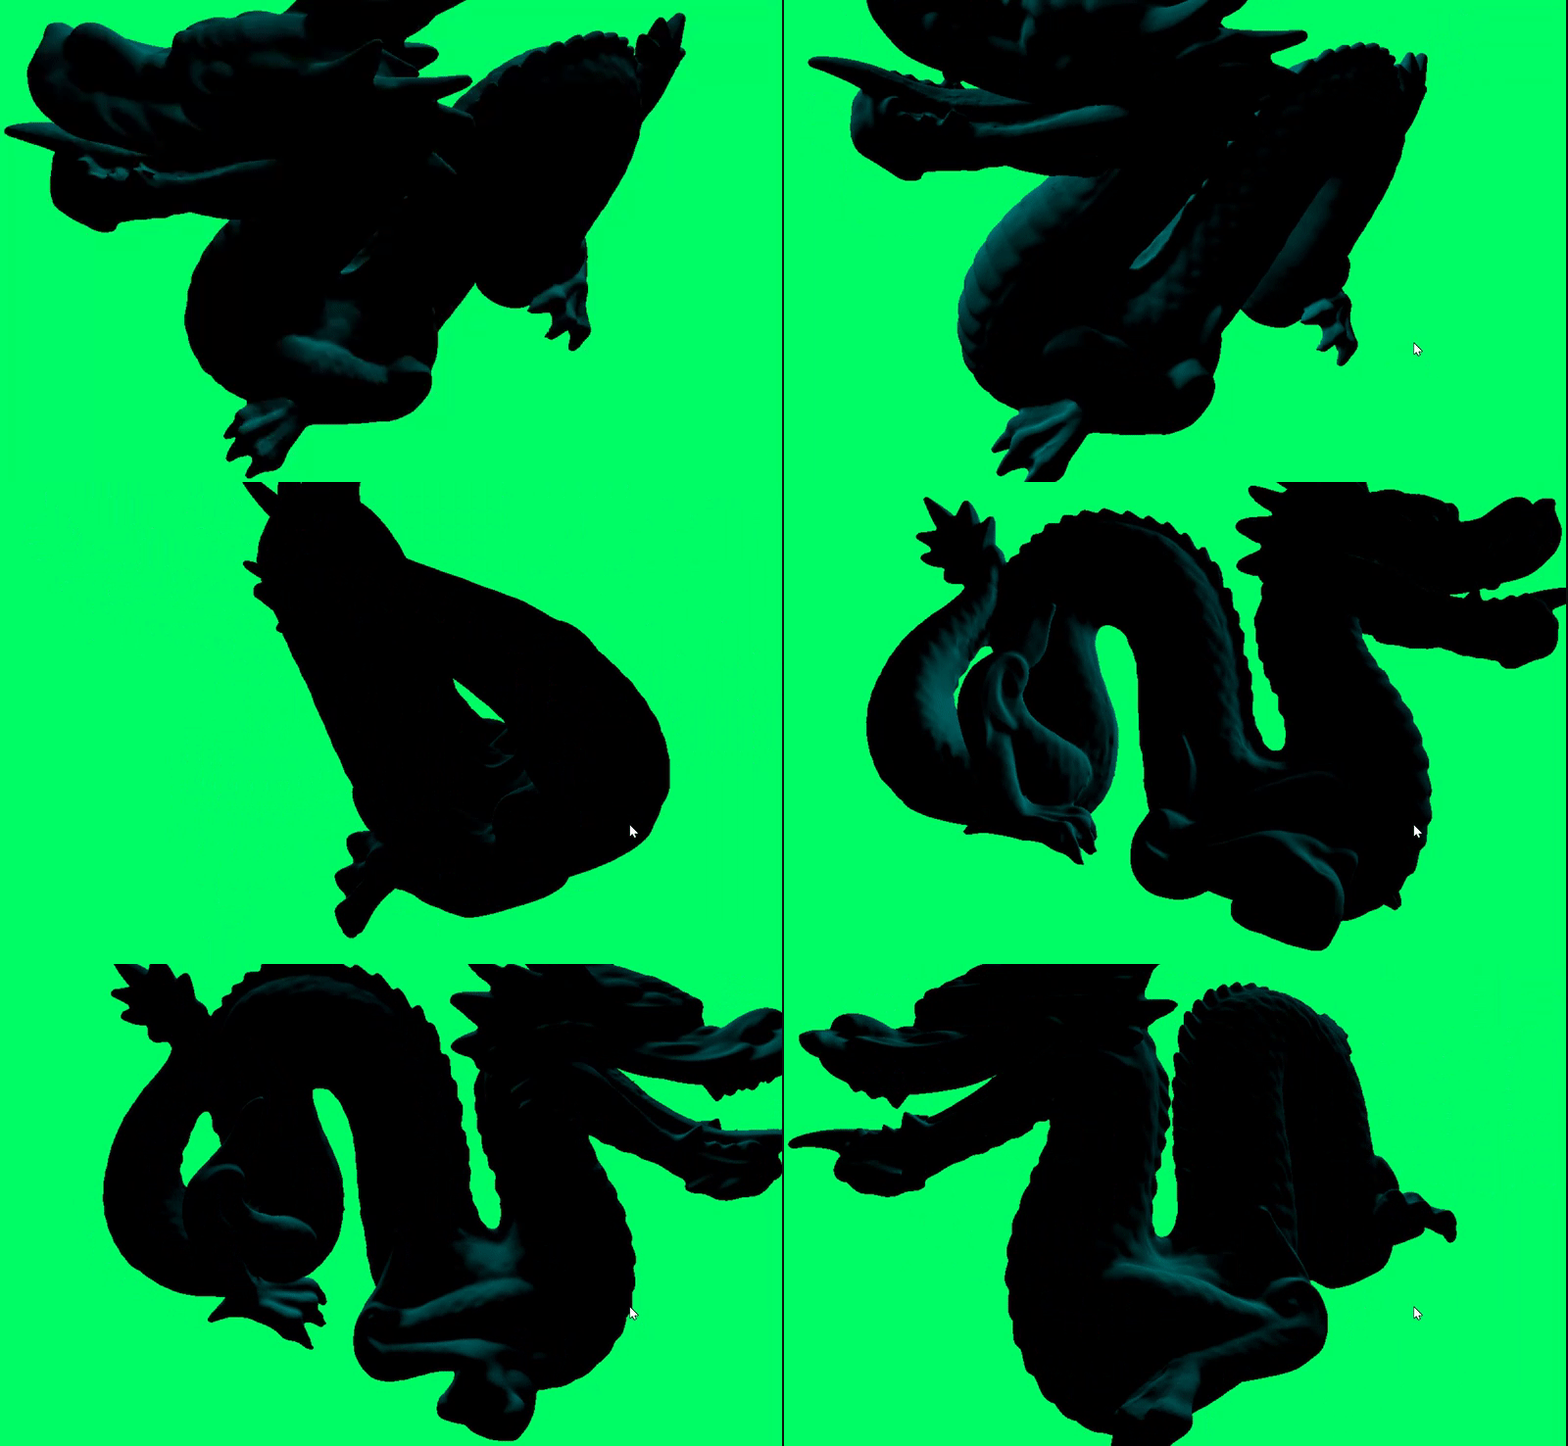
For the second milestone, the team got the following done:
- Multiple Model/Texture loading
- Scene file loading
- Path tracer pipeline
- Diffuse, Reflective, Refractive, Fresnel, Schlick
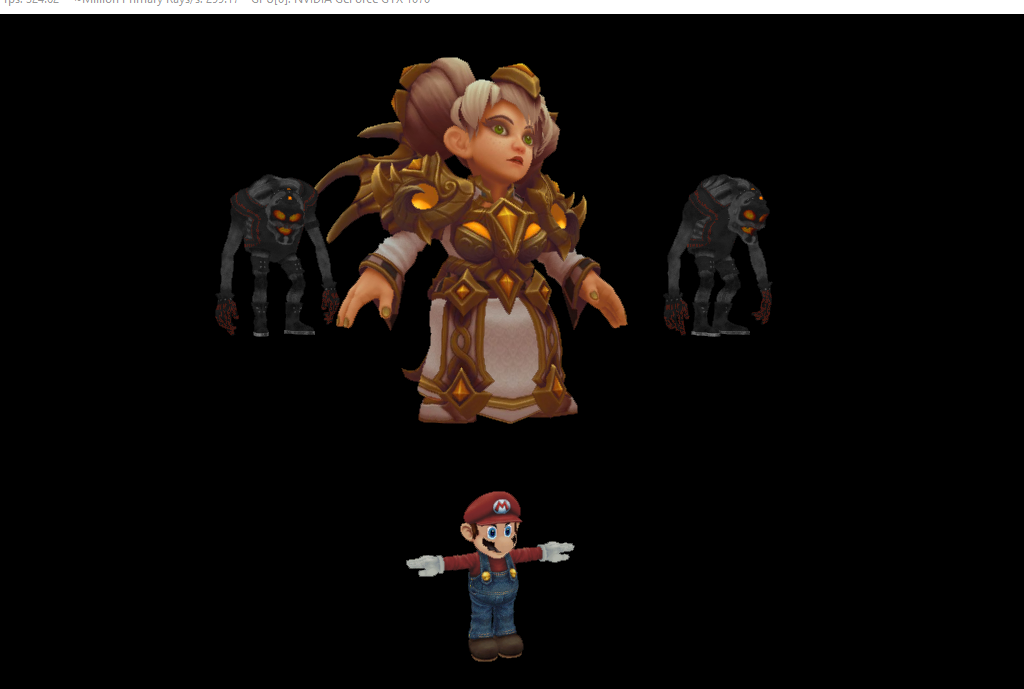

Link to milestone 2 presentation
Just Keep Chugging

Week 3 was much better. I was finally getting a hang of directx12 and a nasty normal bug was fixed that finally produced actual path tracing images.
I also got to mess with actually moving the objects for fun (acceleration structures and hooked up Liam’s minecraft project code and got chunk generation to work)


(The tree was textured as dirt, haha)
In addition, I worked on gltf loading using tinygltf. Ugh, it was a mess since documentation was a bit lacking…
But, I got it to work mostly.
Here’s some images:


For the actual milestone, the images were pretty amazing:


Link to milestone 3 presentation
It’s finally over?
This week, it’s pretty much trying to make everything neat and nice.
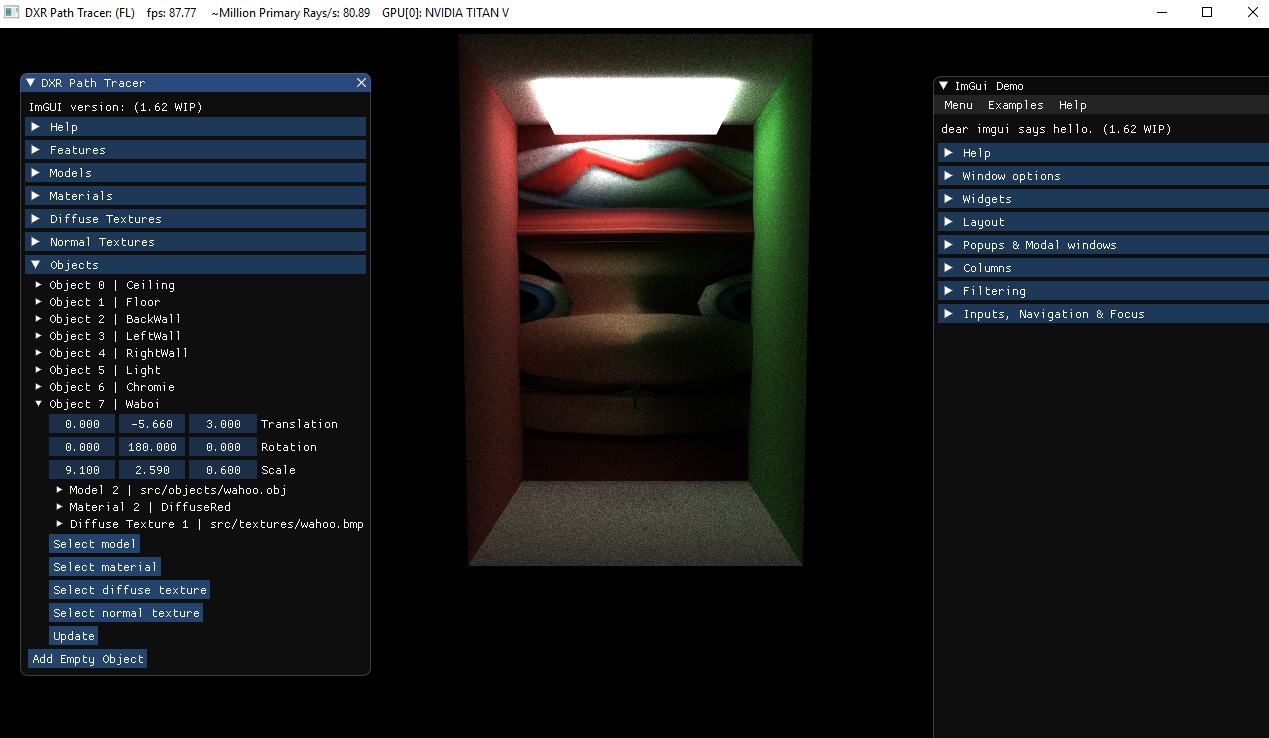
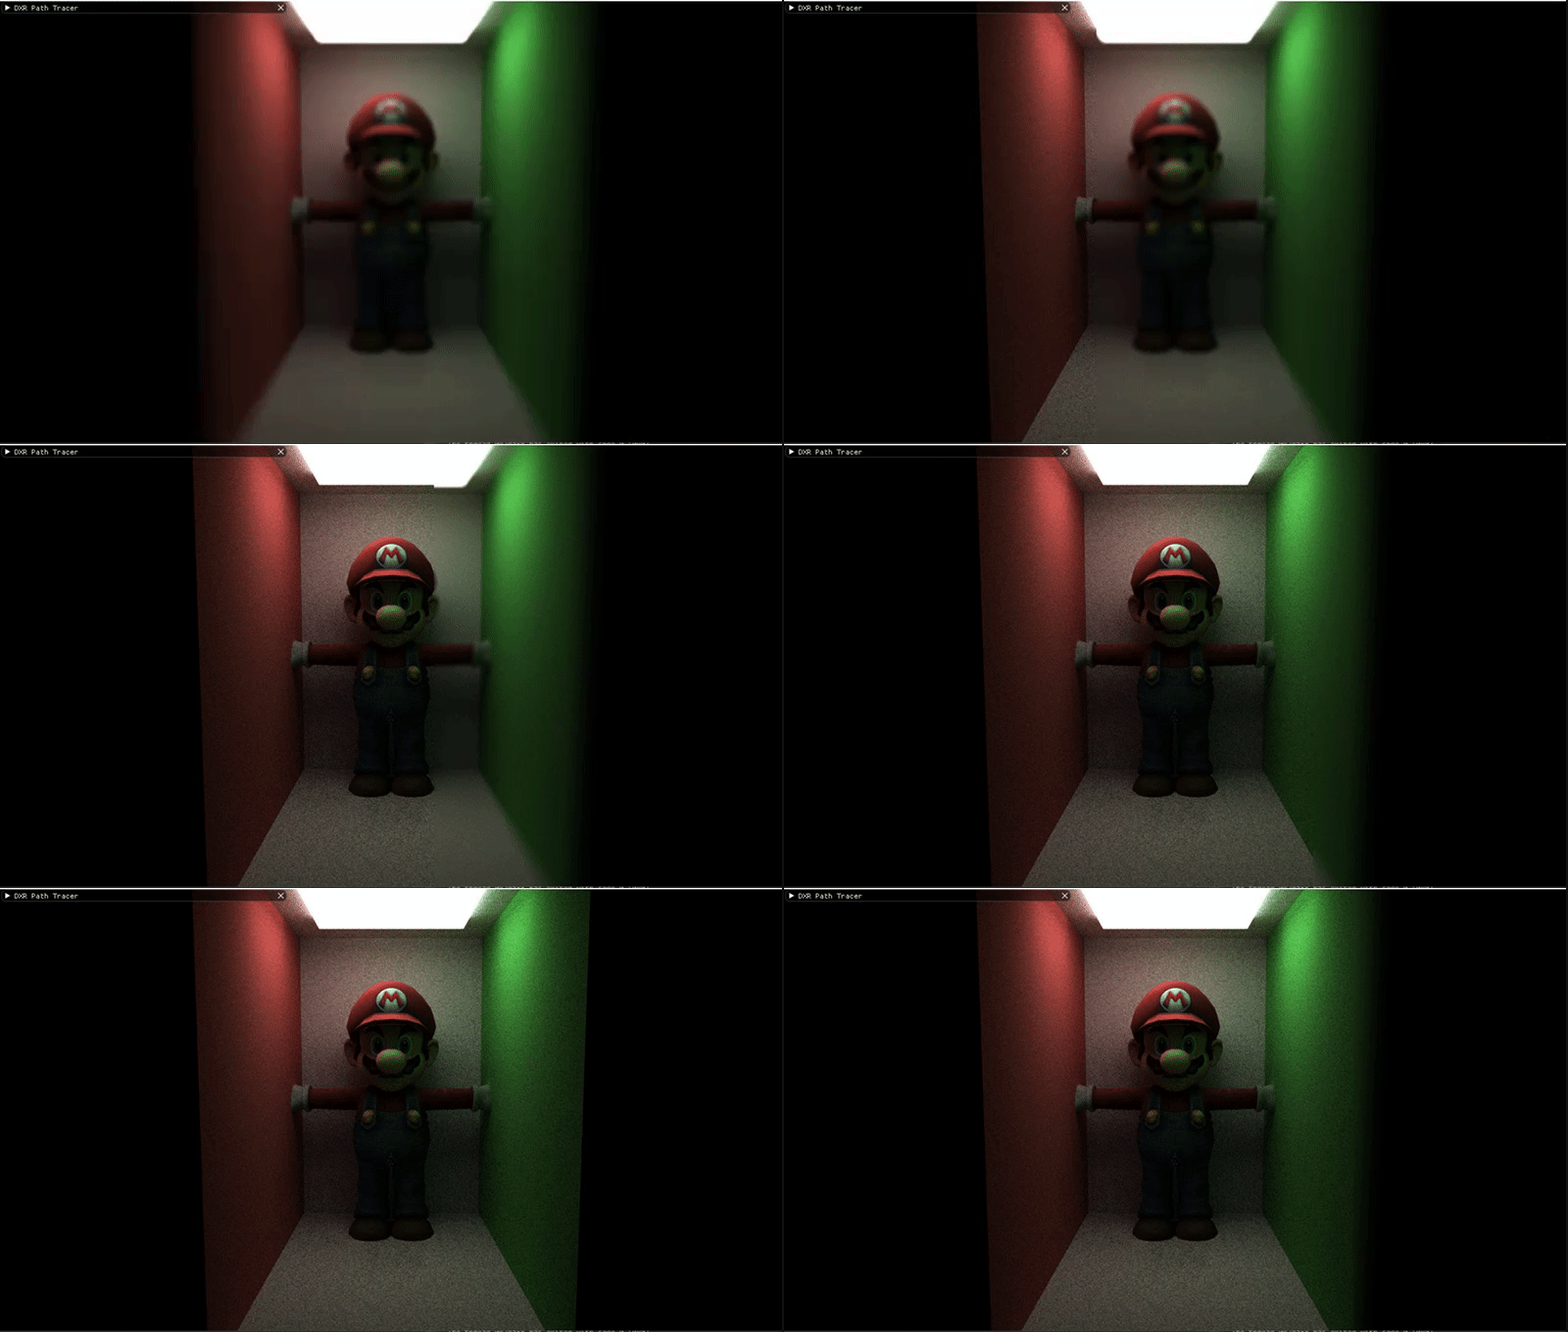
I managed to hook ImGUI, an awesome gui library to our code and worked on making the application a model editor-ish application.
One can add edit all the materials, textures, objects and is able to load/save scenes and other goodies.
Here’s images of it working:
I haven’t done the final demo yet, but I’ll update here when it happens.
Let me know if you have any questions!
Enjoy Reading This Article?
Here are some more articles you might like to read next: