DXR-RTX Path Tracer Project User Guide
Information
Links to series
- DXR Path Tracer Introduction
- DXR Path Tracer Usage
- DXR Path Tracer Host-Side Explanation
- DXR Path Tracer HLSL Explanation
Building the project
The required environment and building instructions are on the github repo
To start, download the project.
Open it in visual studio and click the green Debug button, or switch to Release for better performance. This should hopefully run the project. Let us know if it does not run.
What if I don’t have a RTX card?
No worries. There is a fallback layer that microsoft has provided, so you can still run the program :)!
Basic Usage
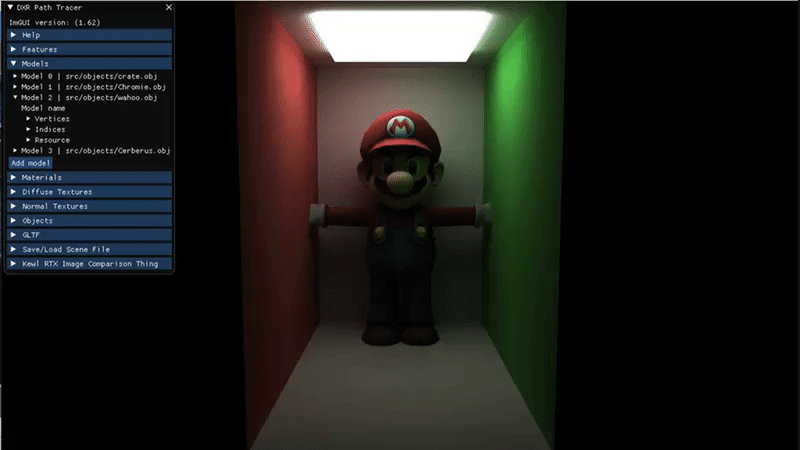
Images subject to change as project develops
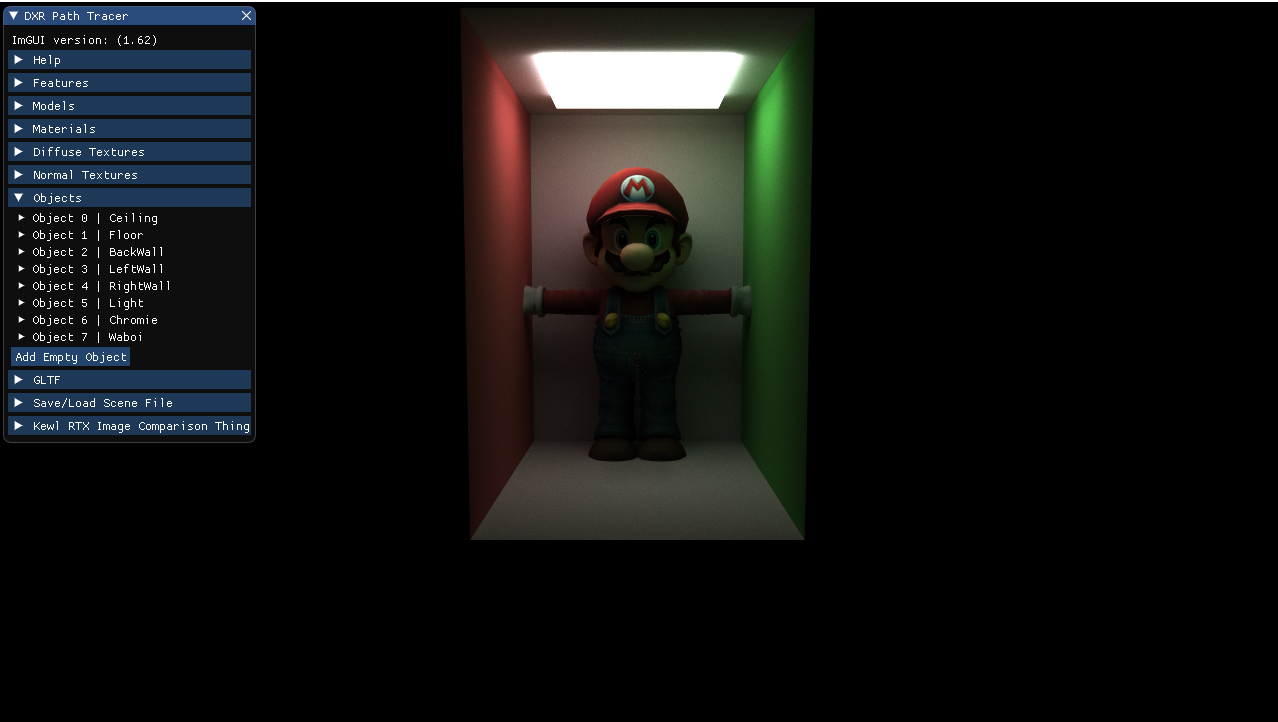
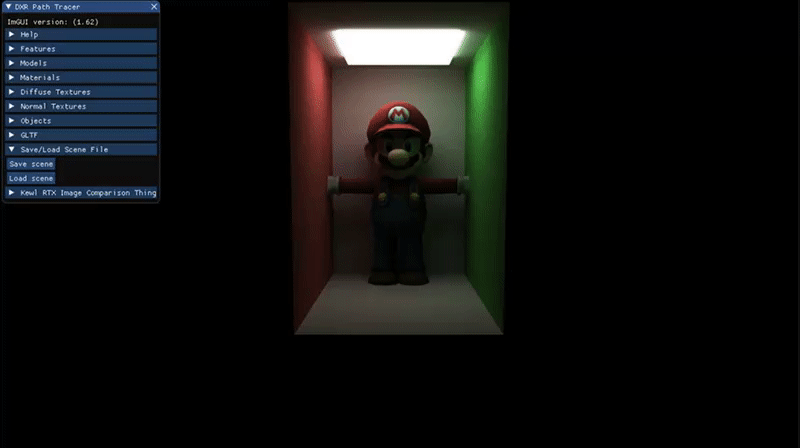
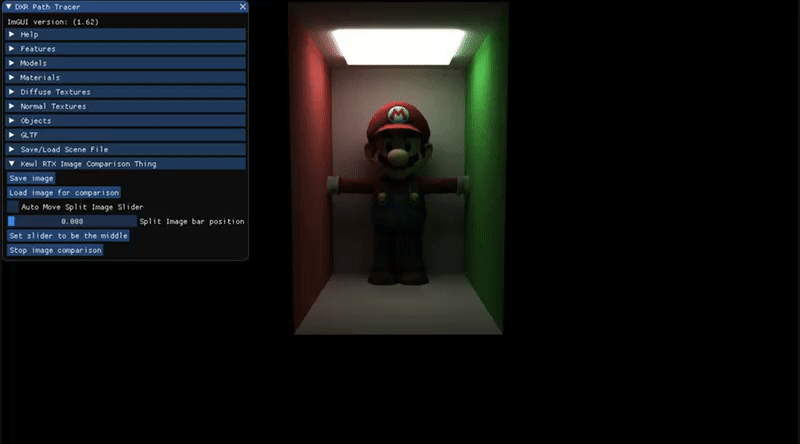
When the application starts, you will be presented with this screen:
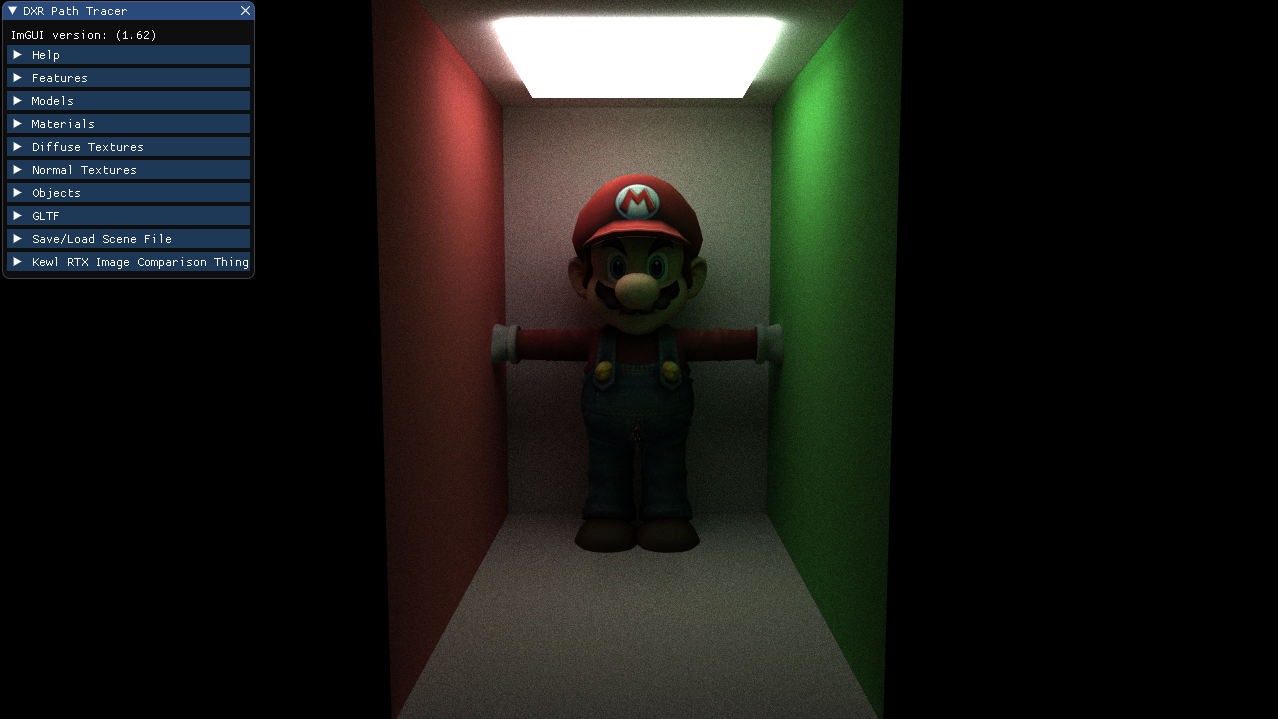
As one can see, there are multiple headers. We will go through each one.
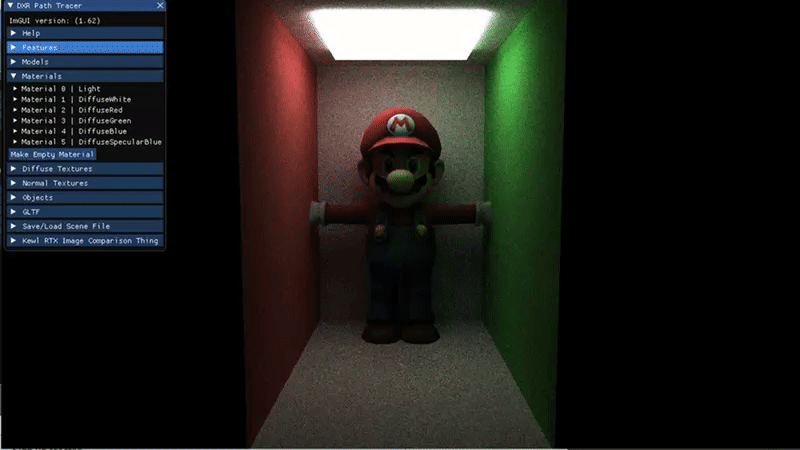
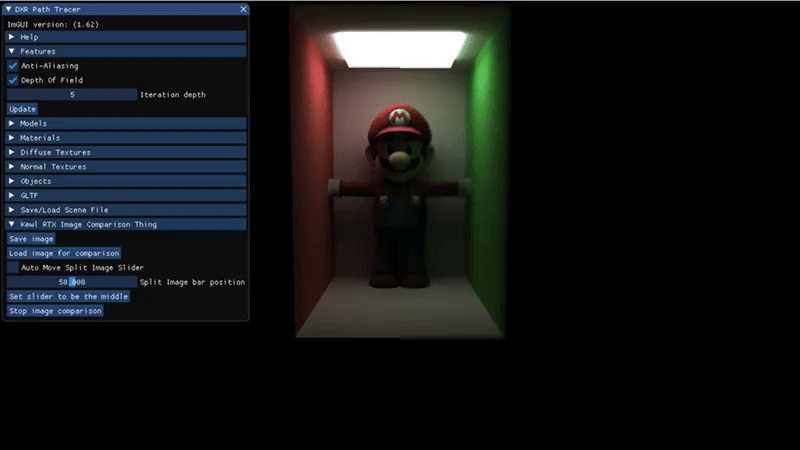
Features
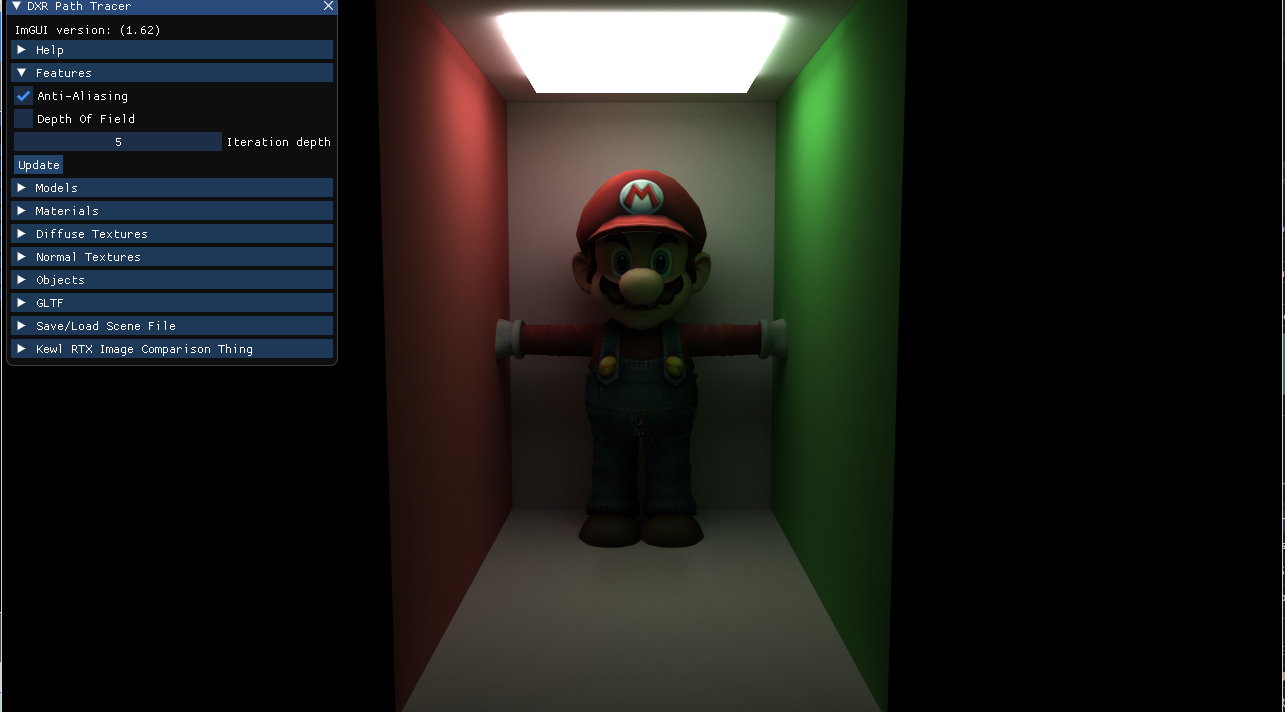
Features are different effects one can apply. In the image above, anti-aliasing is enabled, but depth of field is not.
To apply changes, press the Update button. You will see this button often.
Models
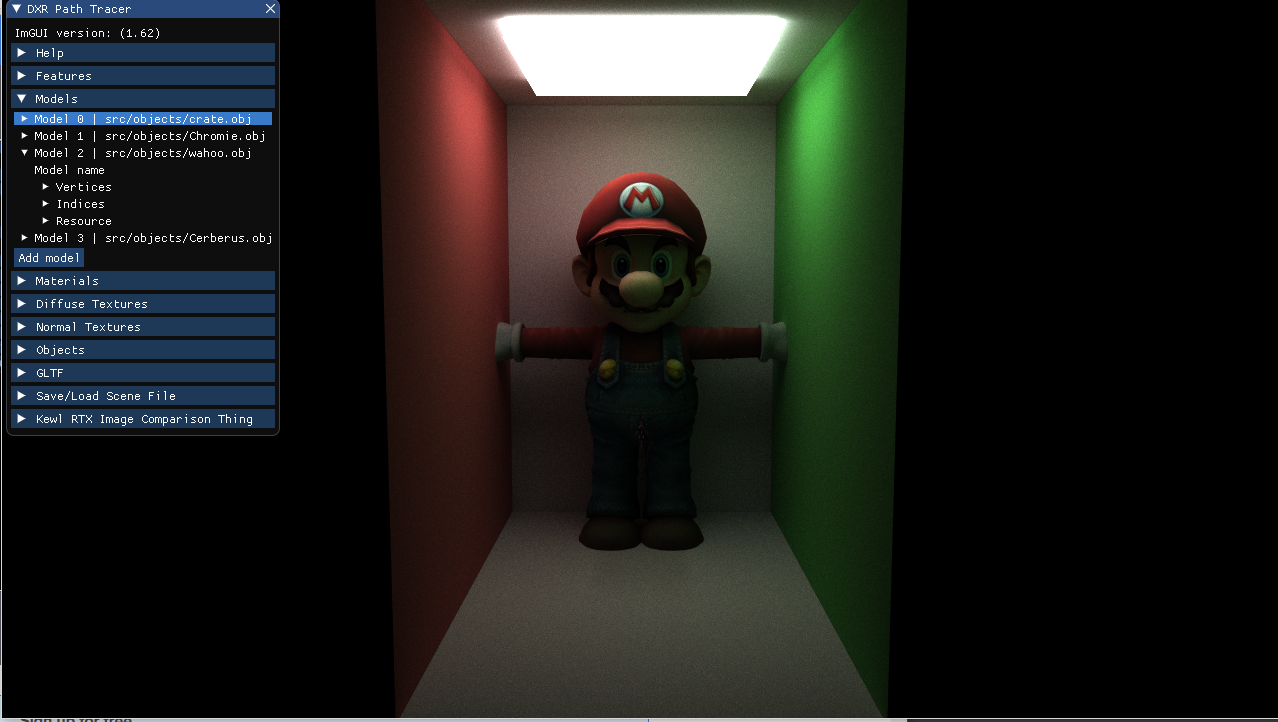
In this header, you can see the models loaded in the screen. Each object points to one of these models or none at all.
You can view the vertices and indices of the model as well.
Materials
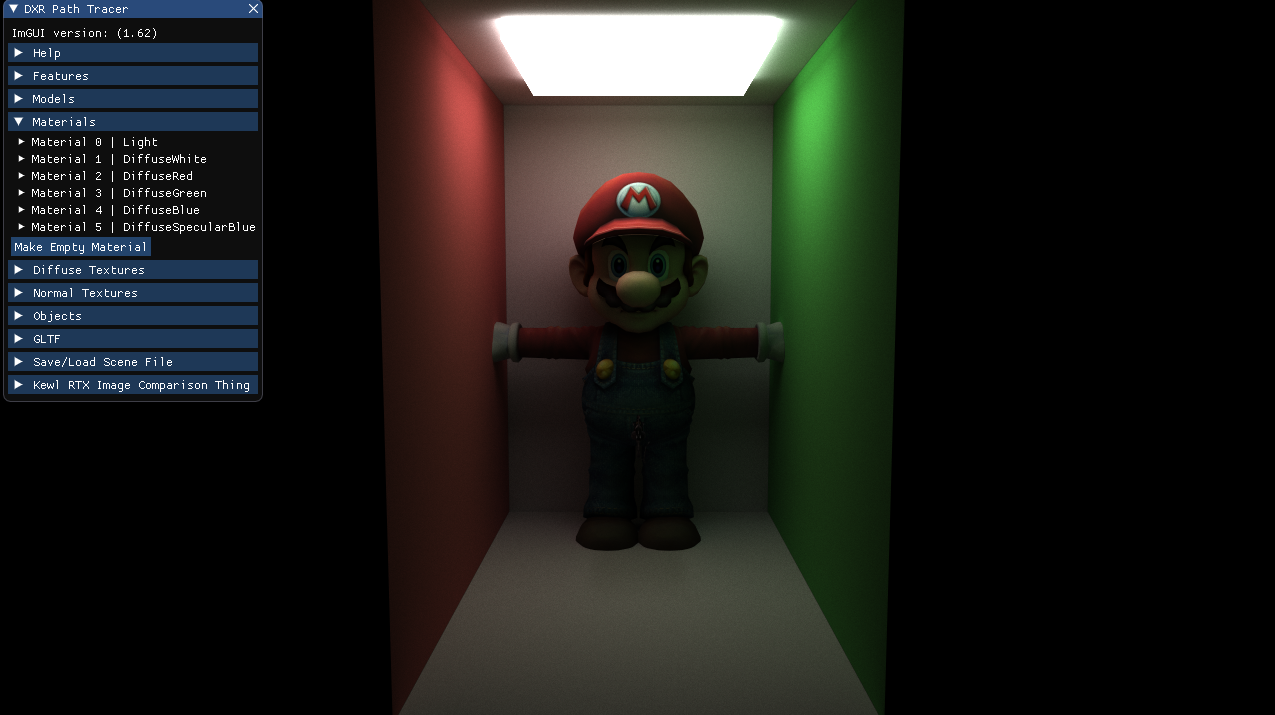
In this header, materials define certain properties of an object.
For example, an object could be reflective, refractive or have emittance.
You can also make an empty material and edit it.
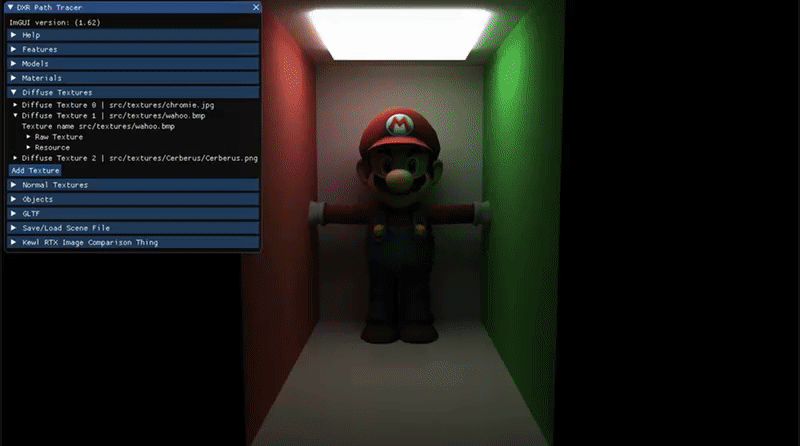
Diffuse Textures
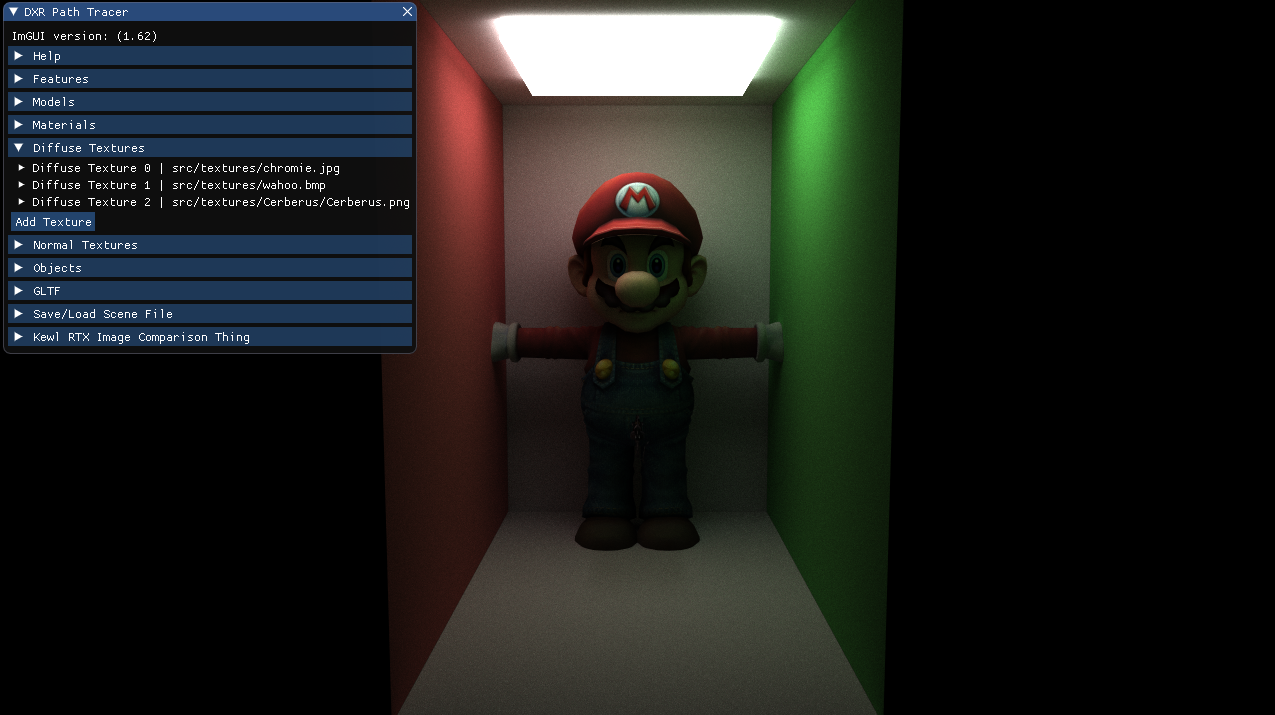
Diffuse textures are color textures. The wahoo.bmp texture makes mario look like… mario instead of a colorless mario?
You can view the raw 2D texture image under Raw Texture
You can also add a diffuse texture by clicking on Add Texture
This pulls up a file dialog where you can select a texture to upload
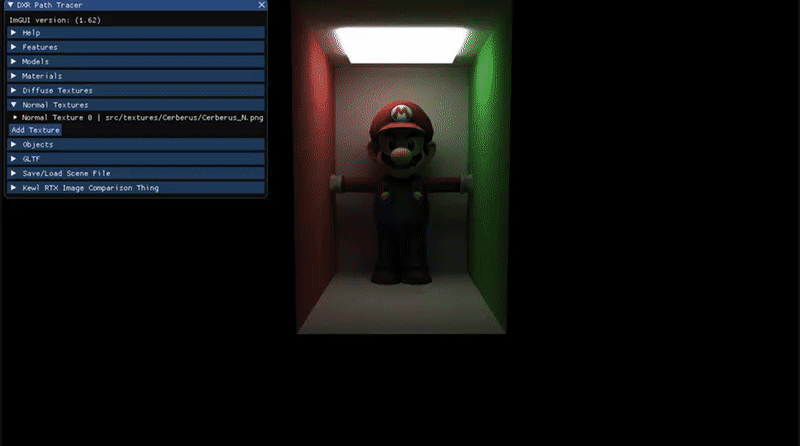
Normal Textures
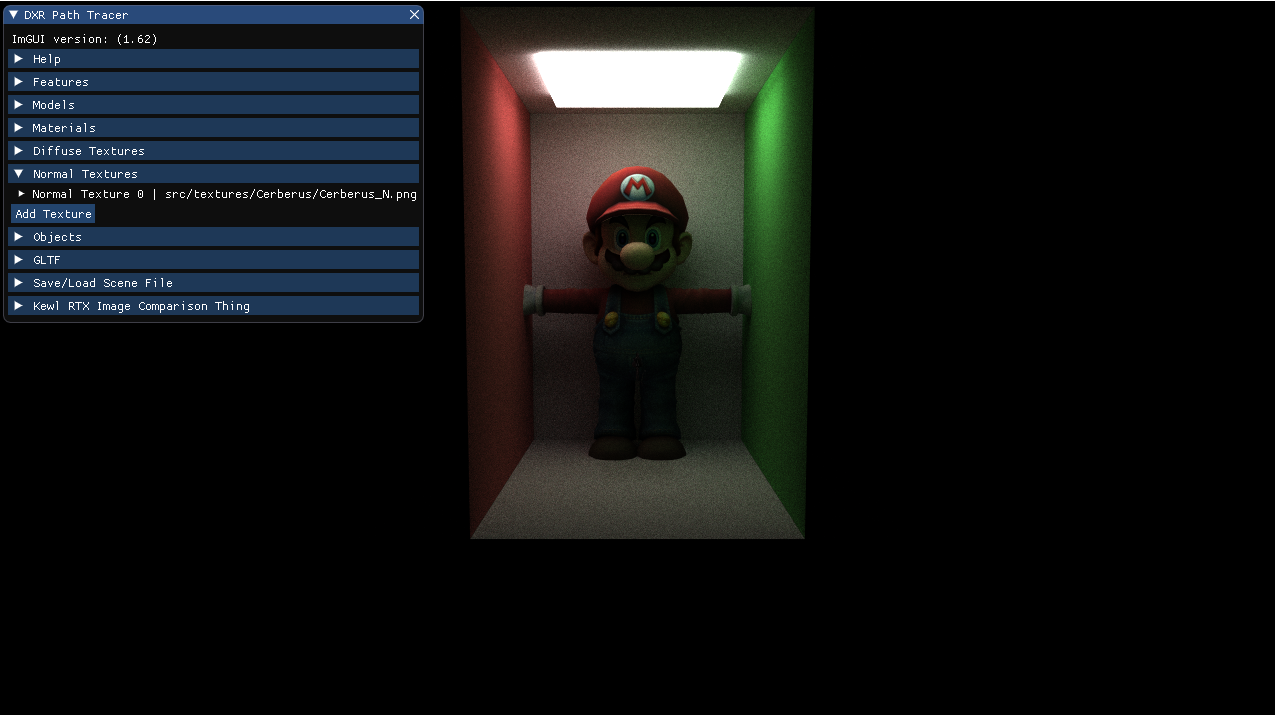
The normal textures are exactly like diffuse textures. You can view the raw 2D texture and upload a normal texture.
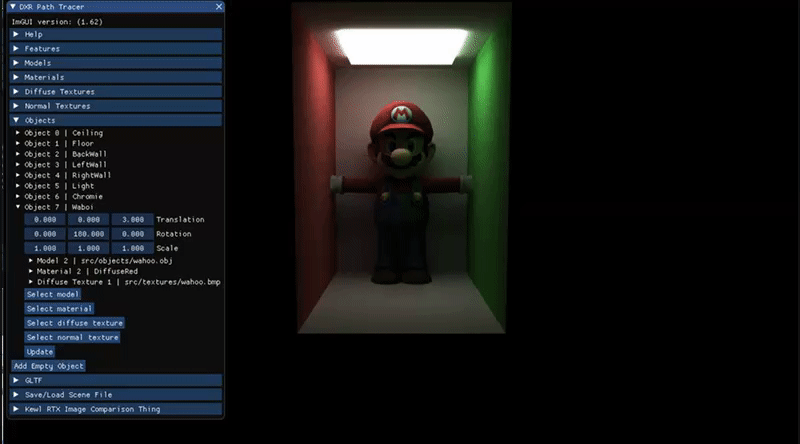
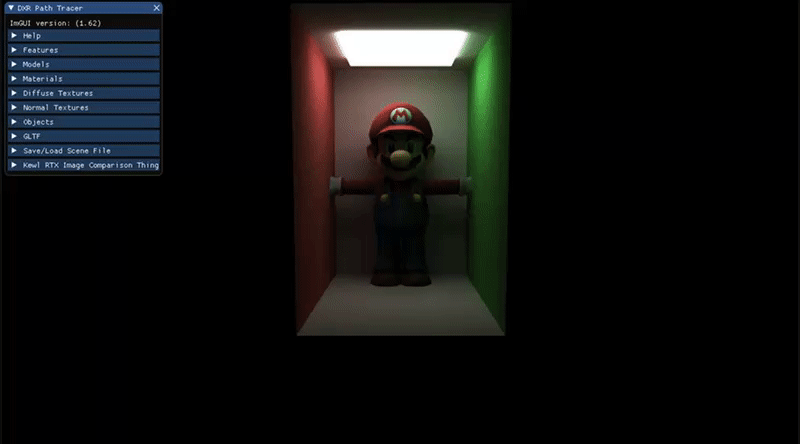
Objects
This is where stuff starts to get more interesting. Objects are essentially instances of models (if you’re familiar with top level and bottom level acceleration structures, you will understand why this is so)
Click on one of the objects to edit it.
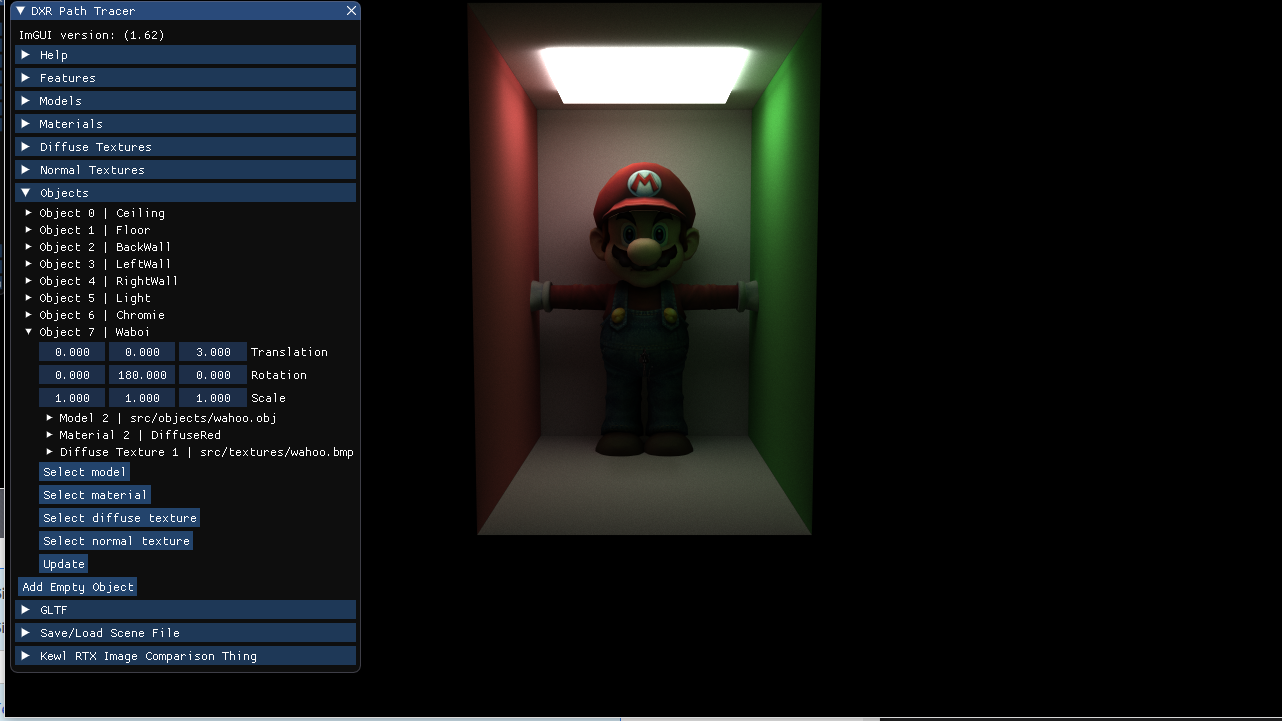
You have the ability to transformation the object by editing the translation, rotation and scale by dragging the slider or double clicking the value and editing the value manually
Below the transformation, we have a reference to the model, material, diffuse texture, and normal texture (if they are referred to)
For example, in this case, mario doesn’t have a normal texture. Mario has his normals taken from wahoo.obj file that was read in under models
Moving on, we have the Select ... buttons
These buttons allow you to change the model, material and textures the model is referring to.
For example, if I were to select the crate.obj under Select model, then the model would become the crate instead, which is essentially a cube.
It looks a bit funny with mario’s textures :)
GLTF
One can upload a GLTF file!
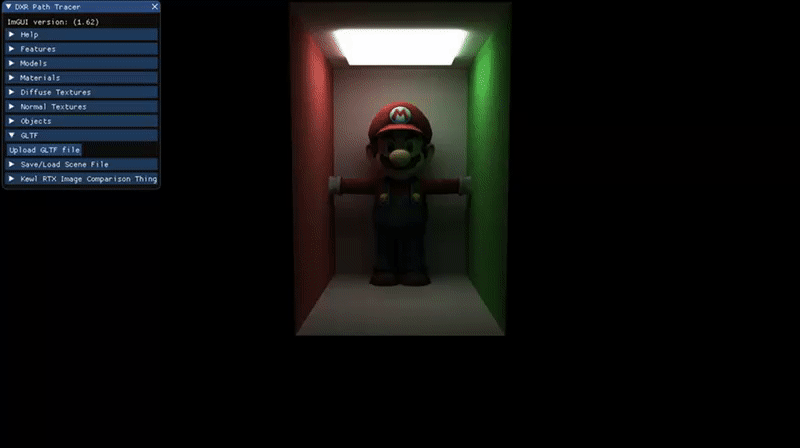
This adds models, objects, and possible material and textures if they exist in the gltf file.
At the minimum, the gltf loader will load one model and one object that points to that model
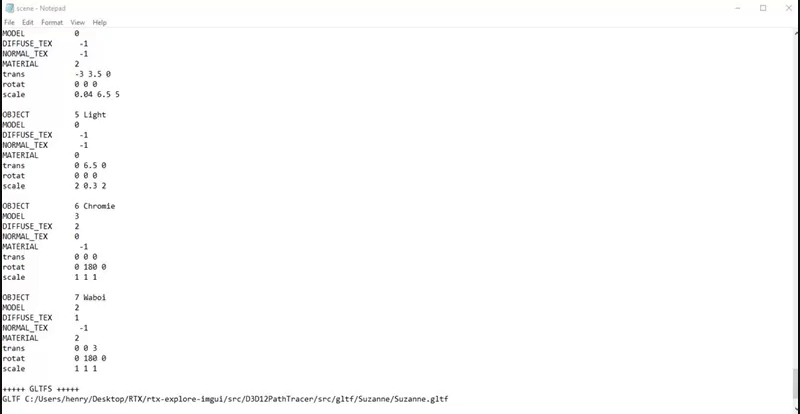
Save/Load Scene File
This allows to you save your current scene and load it!
The paths put into the scene correspond to the model and texture names, so watch out if you move the texture!
The material is embedded into the scene file.
The gltf files are also embedded into the scene file
If you wish to edit the scene file manually, then it should be pretty much self explanatory as it is pretty basic :)
Kewl RTX Image Comaparison Thing
Uh, I can explain –
~I couldn’t think of a name for this~
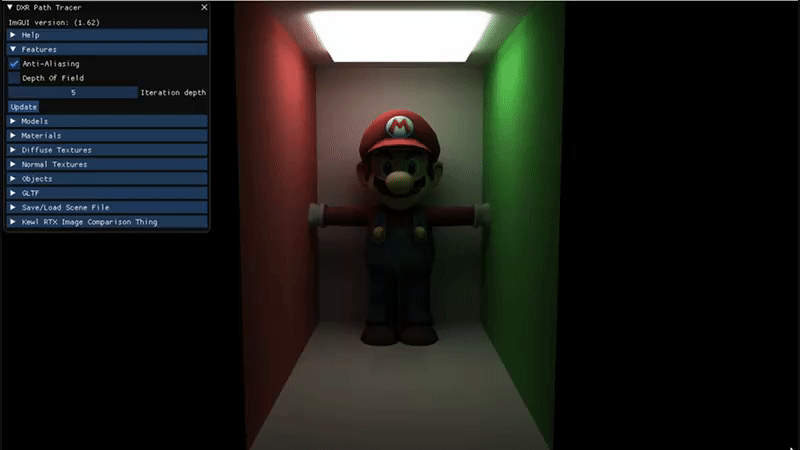
What this does is allow you to save an image and then upload it to a percentage of the screen, so you can do a comparison
An example of such a tool to play around with
First, save the scene as an image
Then, load the scene image again
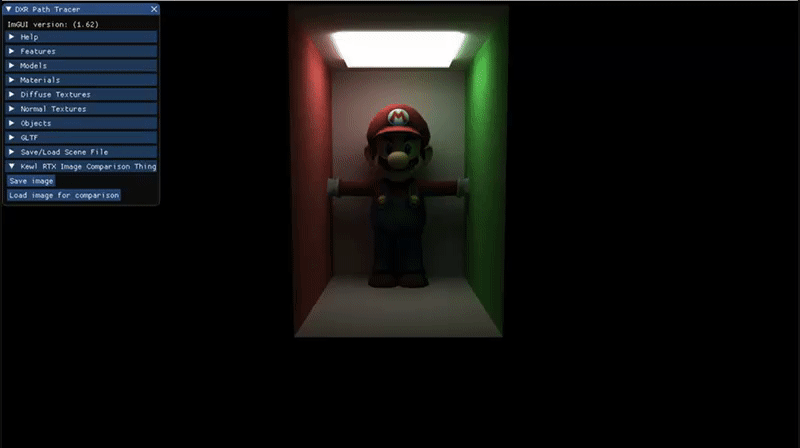
Then you can play with the image
As you can see, the left is the original image and the right is the image with depth of field
You can also make the slider automatic by pressing the Auto Move Split Image Slider
That might have been a bit hard to notice! Let’s try again, but this time, the camera is moved forward

You can actually save the screen with the comparison as well!

That’s all for now!
You should be now ready to make super-duper awesome RTX-DXR On 2080 images :)
Enjoy Reading This Article?
Here are some more articles you might like to read next: